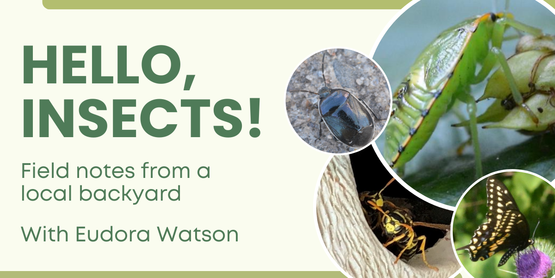

What do the Swallowtail Butterflies, Bumble Bee Queens, and Fireflies have in common? They all depend on leaf litter as their home and protection during our winter months. For the last ten years there has been a growing movement to get people to leave the leaves in their yard in the fall to benefit wildlife. But the reasons are just as compelling to put off removing leaves in the spring.
As long ago as 2015, the National Wildlife Federation was advocating for leaving fall leaves, and the Xerces Society and others have taken up the call. And, somewhere along the line October was declared as “Leave the Leaves” month. To the extent that folks followed that advice, all sorts of critters have benefited. The bumble bee queens that burrow shallowly in the soil under a protecting layer of leaves, the adult Mourning Cloak Butterflies that tucked into the leaves, and the stick insect eggs that dropped from the tree or shrub on to the leaf litter all had better chances of surviving the winter.
But for over ten years, a crucial element in backyard habitat protection has been ignored. Simply put, the leaf litter layer is like Nature’s winter coat for those creatures. And just like we don’t put our own winter coats away when we get the first sporadic, warm, sunny days, if we want to protect pollinating insects and those that will feed the birds who depend on them for food to raise their young, we should leave their winter coat in place, too. The temperatures will dip again and the insects will need the protection.
It can be satisfying to clean up the yard and fill leaf bags with the refuse, and I’ve certainly filled my share of them, but I’ve learned the bags contain not only leaves and twigs, but insects at all stages of life: egg, larva, pupa, and adult. Many of them are small and even if visible, not recognizable because they look starkly different than the adults. And some are disguised, like the Swallowtail Butterfly pupae that mimics fallen leaves.
I understand the urge to do something, anything, to make the early spring yard look better. But if you’re hoping to support pollinators, and the birds who rely on insects to raise their young, April is too soon. Clear walkways to keep them safe, of course, but leaving the leaves this spring will help out not just the birds and the bees, but the butterflies, moths, and fireflies.